
Are you about to give away a hard drive, or a device with a hard drive that has contained data, some of which is rather personal? Before parting with it, it is best to run it through a secure deletion tool. Because a quick format with the native Windows module will not be enough to delete the data stored on it.
To ensure that all deleted data will no longer be accessible and cannot be recovered using data recovery software, you generally need to make sure to rewrite random data several times on each sector that stored your data. By doing this, the data will be unrecoverable, and therefore truly deleted.
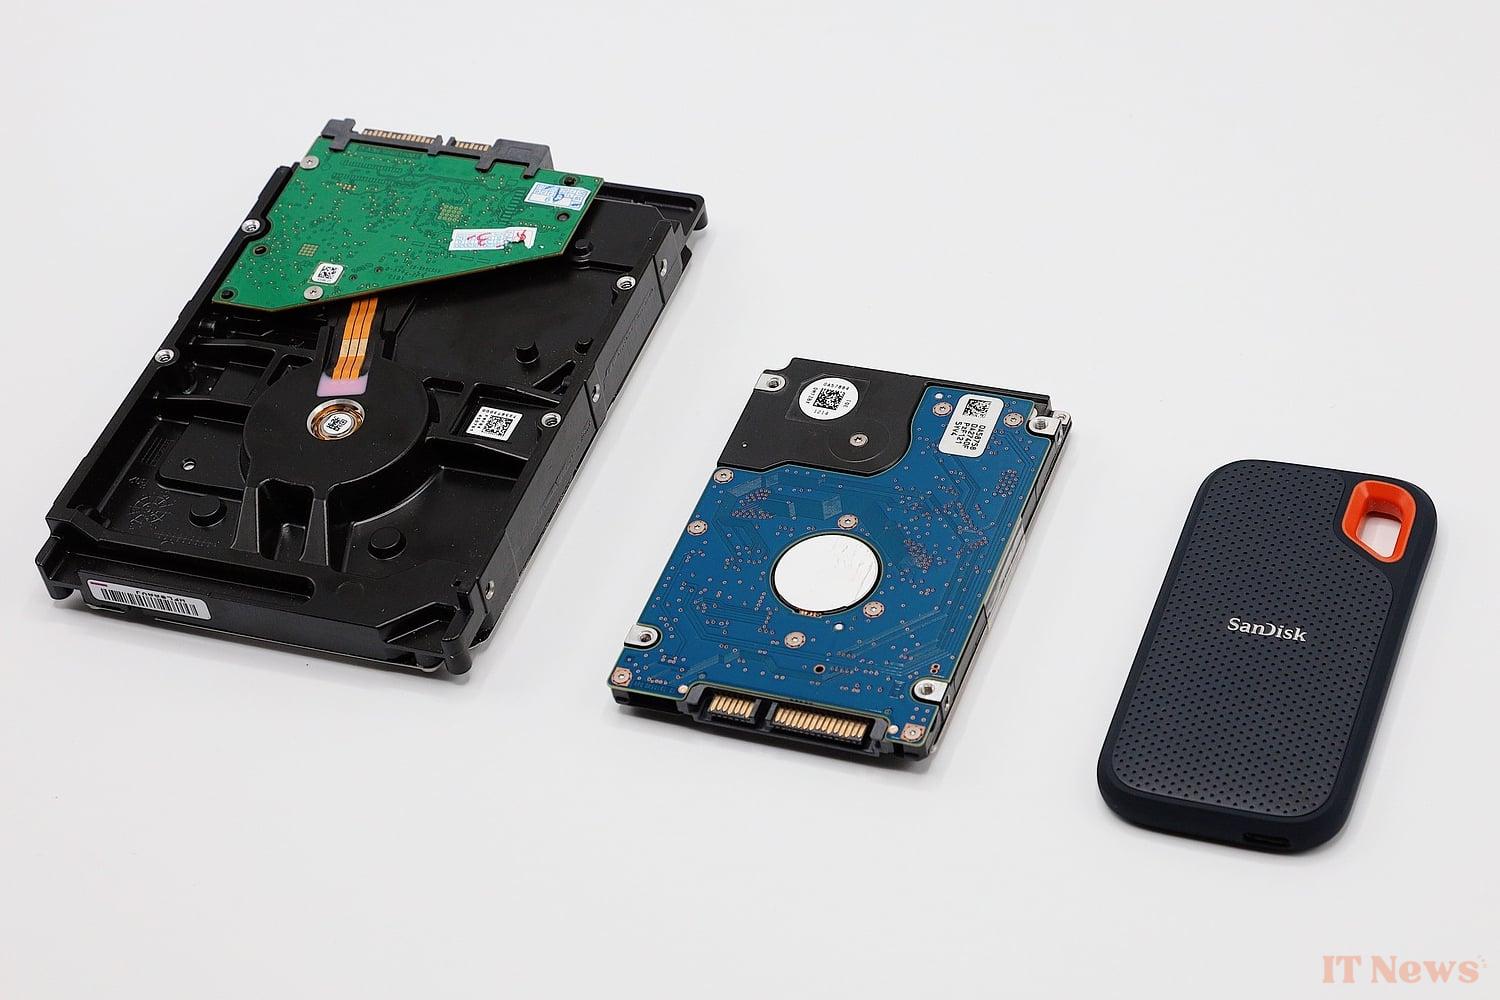
Be careful, however, this method only applies to mechanical hard drives. By their nature, SSDs cannot be securely erased using this method. The flash memory modules that make up SSDs have a limited number of write cycles, which could lead to their premature deterioration.
Whether you are looking to securely erase a hard drive, an SSD, or the system disk used to boot your PC, the method used will be different. Here they are in detail.
How to securely erase data from a mechanical hard drive?
Before getting rid of a mechanical external hard drive, it is better to make sure to securely delete the data. To do this, you can use Diskpart, a tool native to Windows that works in command lines. Rest assured, the steps to follow to securely erase with Diskpart are not insurmountable.
1. Identify the disk
Start by identifying the hard drive that you have just connected to your PC. To do this, use the keyboard shortcut Windows + R then in the Run window that opens, type diskmgmt.msc and press Enter to validate.
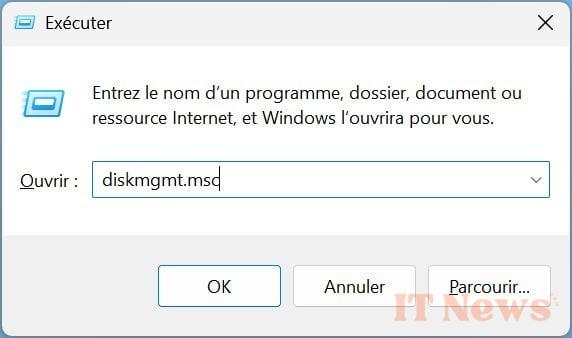
After a few seconds, the Windows Disk Management tool should appear and list all disks connected to your PC. Identify the disk you want to erase and remember its name. In our case, it is Disk 1.

2. Open the Command Prompt in Administrator mode
Now, you need to open the Command Prompt in Administrator mode. You can access the Diskpart utility through the Command Prompt. To do this, right-click on the Windows 11 Start menu and select Terminal (administrator).

If the Terminal does not open directly to the command prompt, click on the drop-down menu displayed next to the + button in the window status bar and select Command Prompt.
3. Launch Diskpart
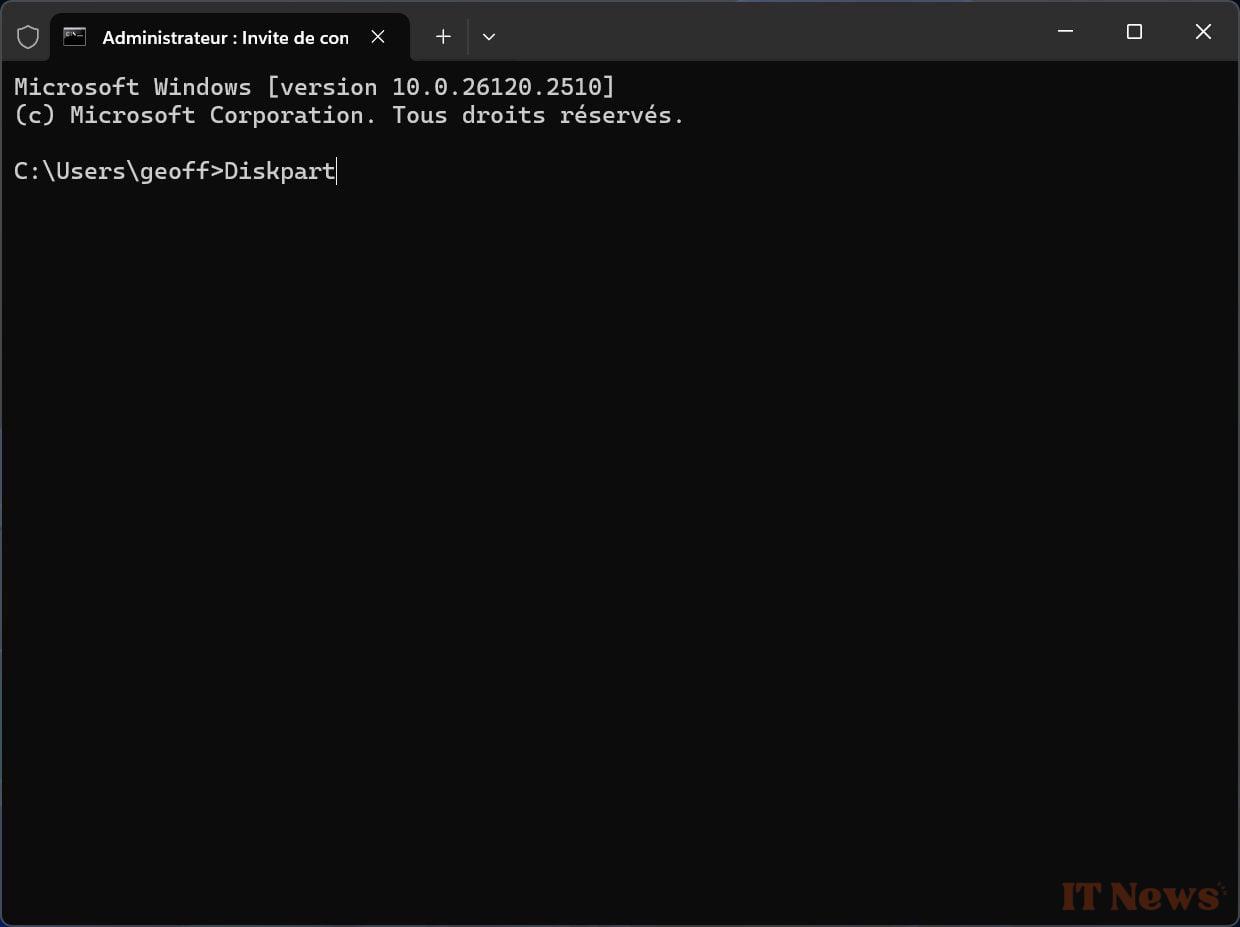
Now that the Command Prompt is open, simply type Diskpart and press Enter to validate. The Diskpart utility should now be active.
4. Select your disk
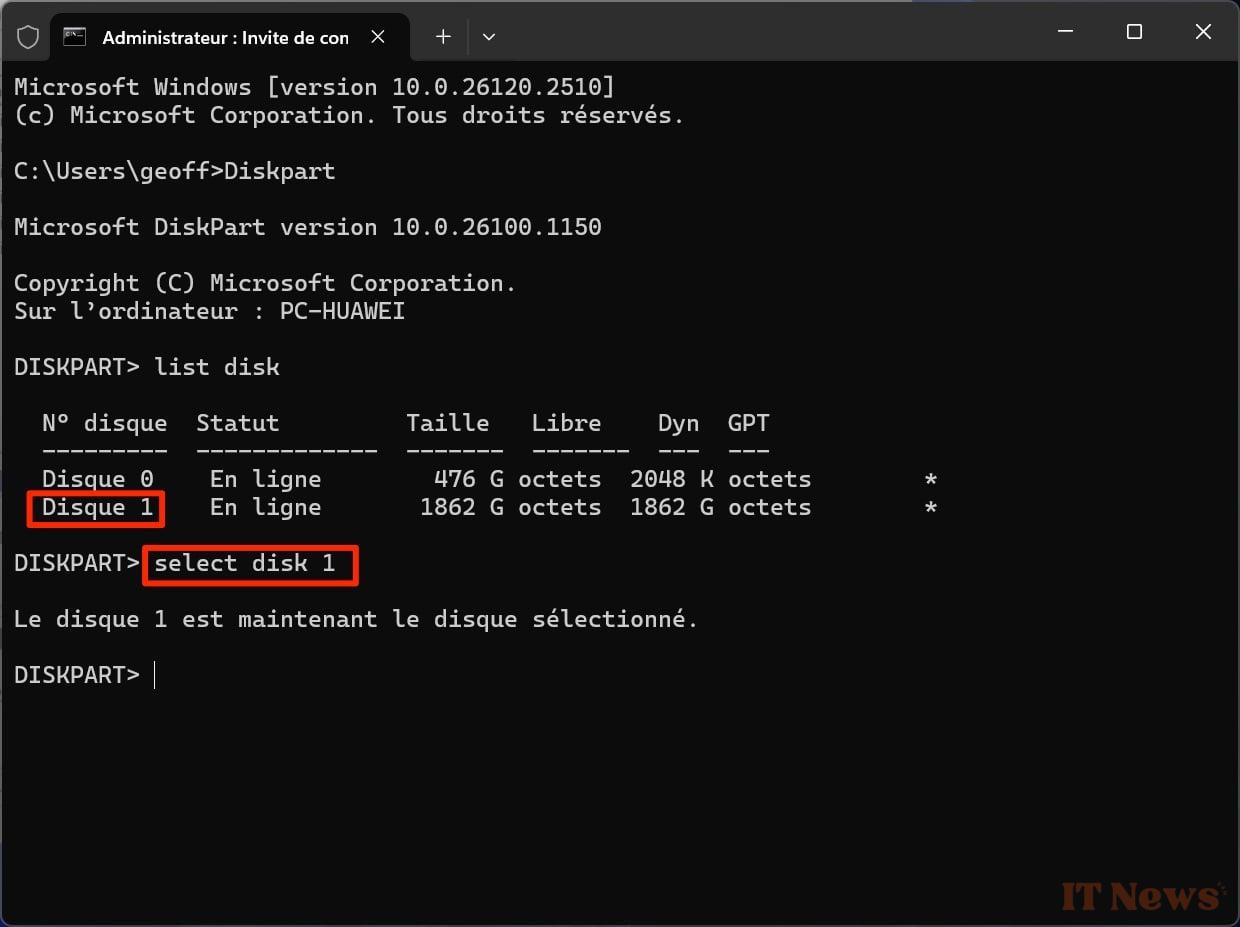
Now you need to select the hard disk you want to work on. Before that, you need to list all connected disks. To do this, type the command list disk and press Enter. Diskpart should then list all available disks/partitions and their sizes.
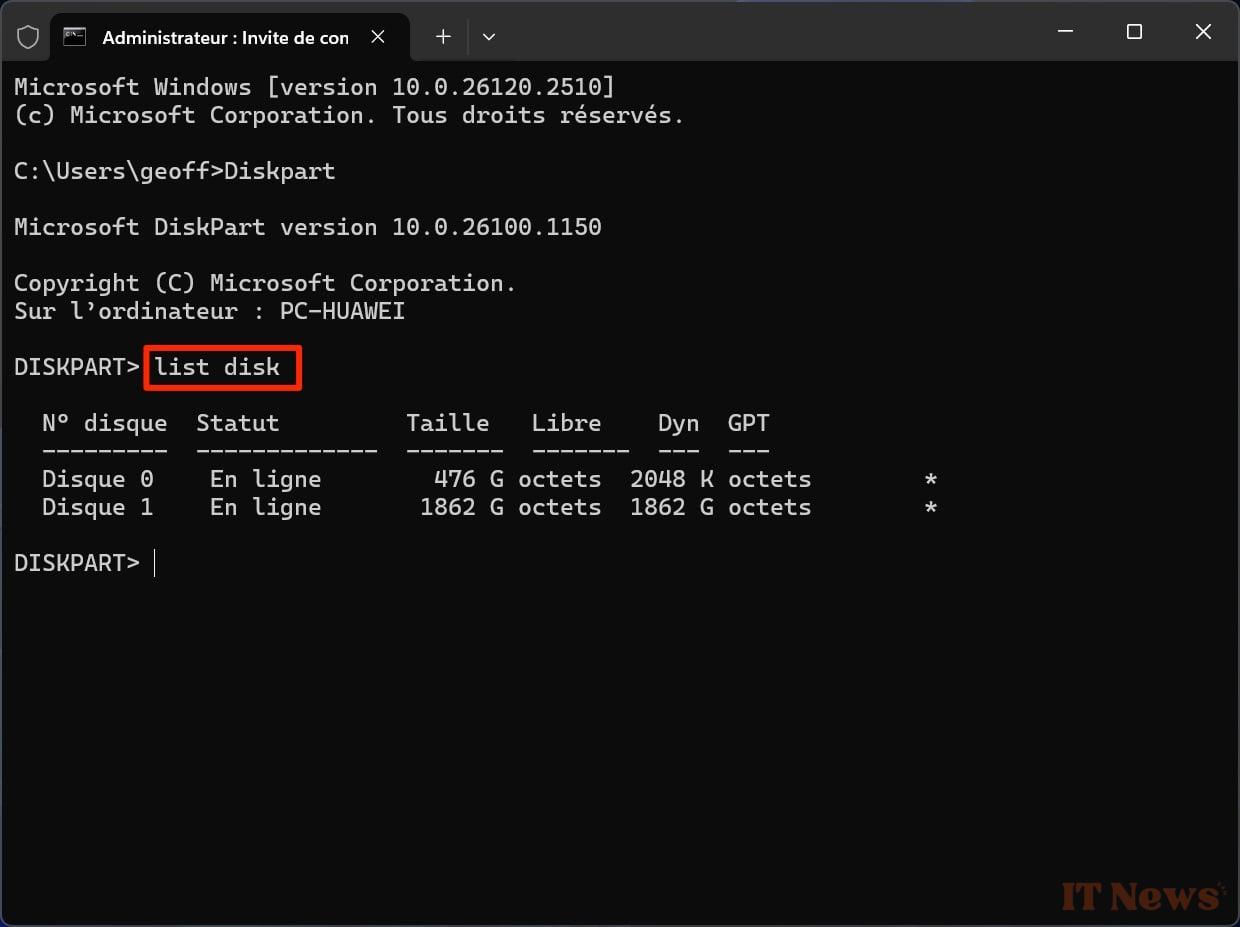
To select the disk you are going to work on, type select disk x where the x represents the number of your disk. In our case we will type select disk 1. Diskpart should then display the message “Disk x is now the selected disk”.
5. Run the secure delete
Now that your hard drive is selected, you can run the secure delete command. To do this, simply type Clean all and press the Enter key on your keyboard.
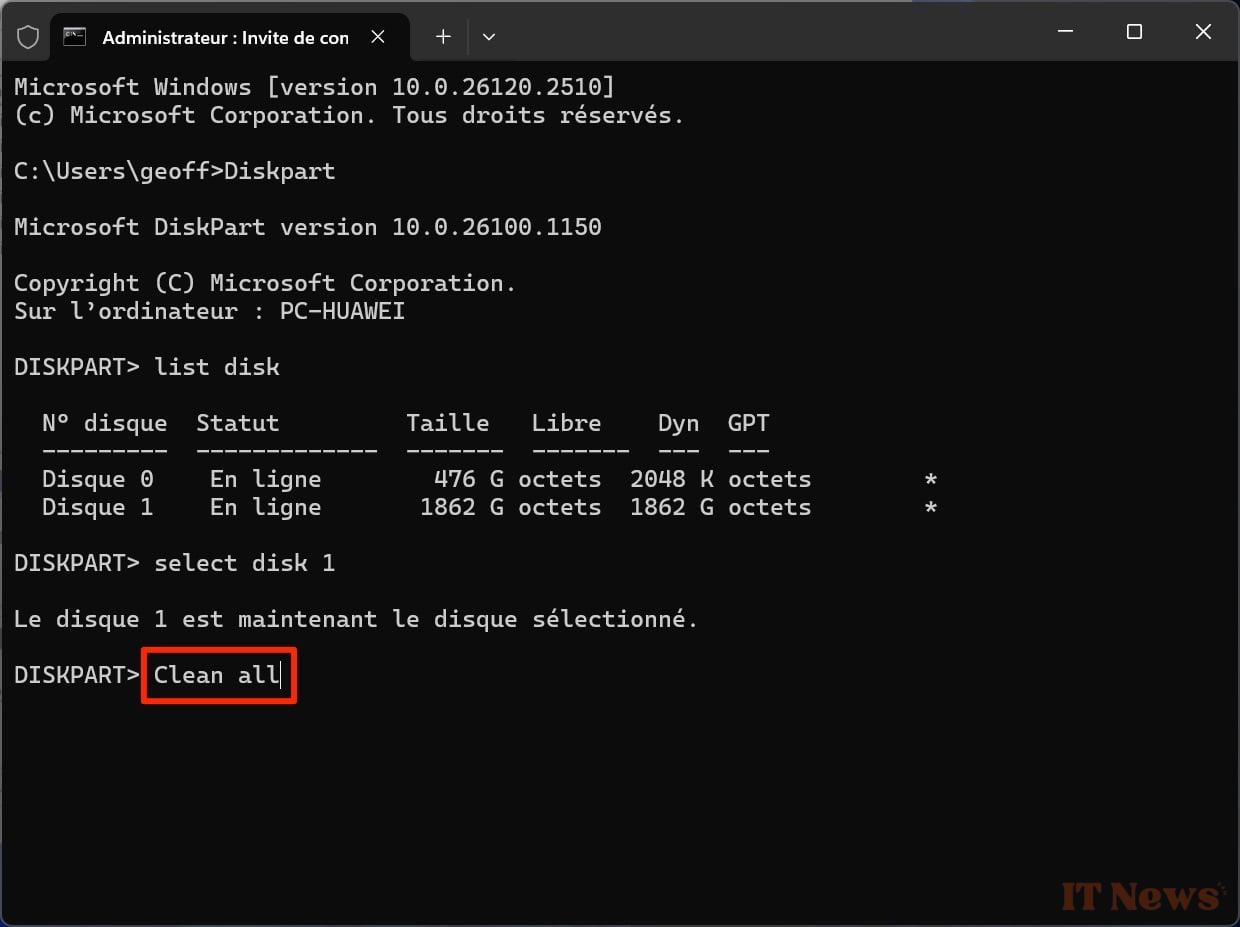
You can now go get a coffee. The secure Diskpart deletion procedure can take several hours depending on the size of your hard drive. Do not touch anything else, and wait until the message "Diskpart has successfully cleaned the disk" is displayed indicating the end of the process.
How to securely erase data from an SSD?
Securely erasing data from an SSD is somewhat more complicated. Each manufacturer generally offers its own solution in the utility it provides with its SSD. This is the case, for example, with Samsung, Western Digital, Kingston, Crucial, Intel or Seagate .
It is also possible, in some cases, to go through the UEFI BIOS of your PC's motherboard. Some manufacturers actually include a secure data deletion feature for SSDs.
How to securely erase a PC's startup disk?
If you are about to give away a PC, it is not possible to securely erase the data it contains using Diskpart. Indeed, the utility cannot be used on the PC's startup disk. However, it is possible, when resetting your PC's operating system, to select secure data deletion. Again, the procedure is very simple.
1. Open Windows Settings
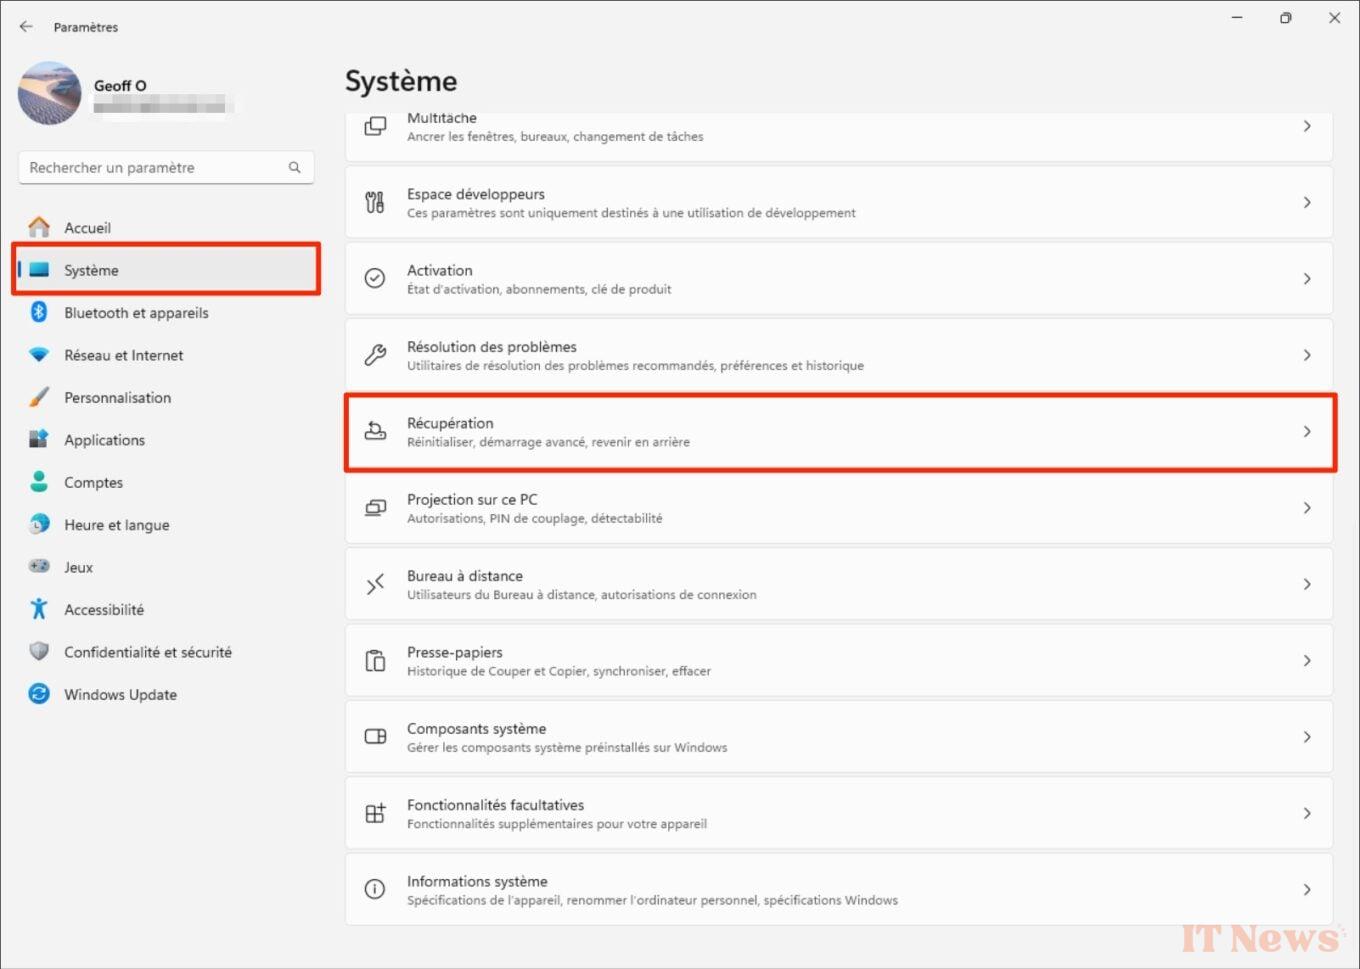
Start by opening Windows 11 Settings using the Windows + i keyboard shortcut. Select System in the left column, then enter the Recovery menu.
2. Configure PC reset
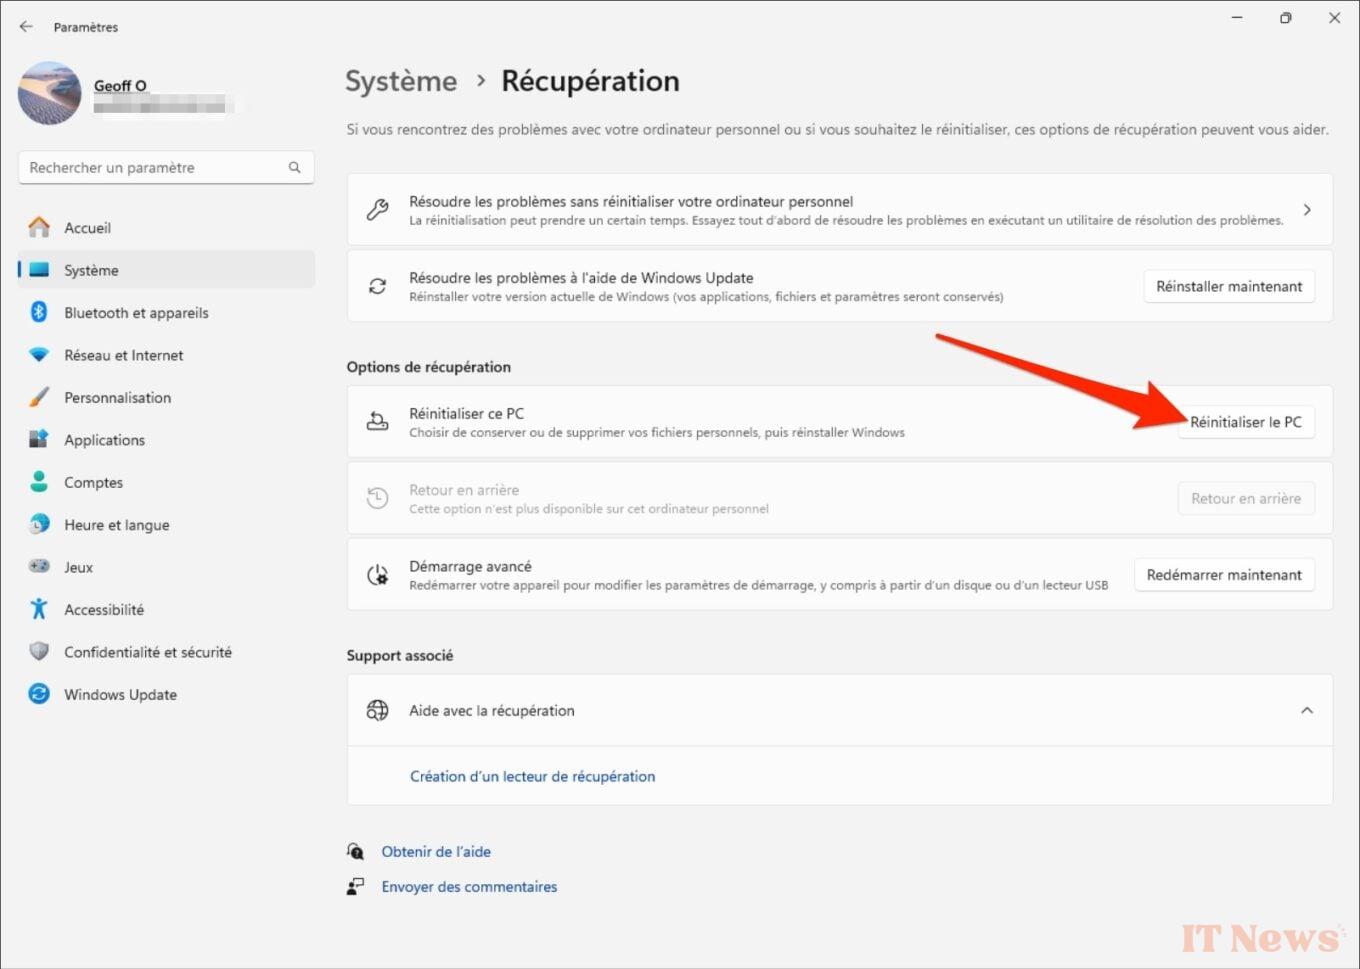
You must now initiate the reset of your PC. To do this, click on the Reset PC button.
In the Choose an option window that appears, click on Delete all. This will allow you to delete all of the personal files, applications and settings on your machine.

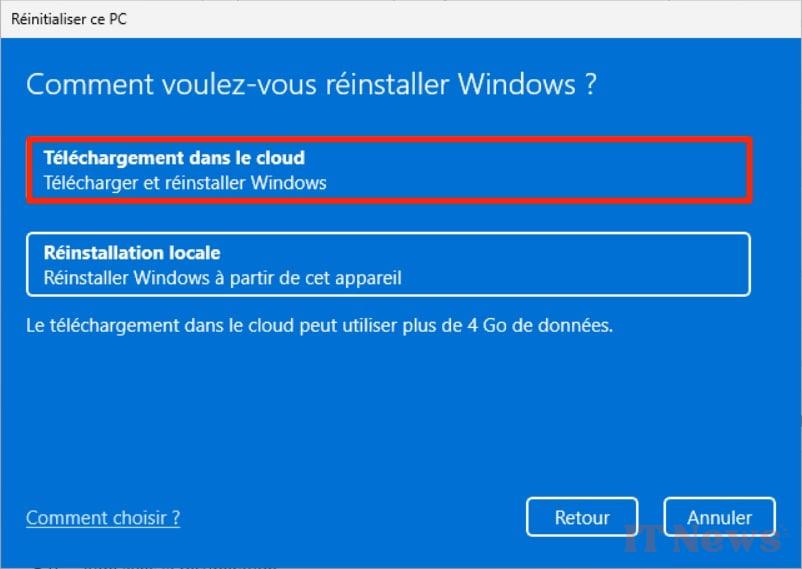
Then select Cloud Download to Download and Reinstall Windows, making sure to use the latest, up-to-date OS installation image.
3. Clean the drive
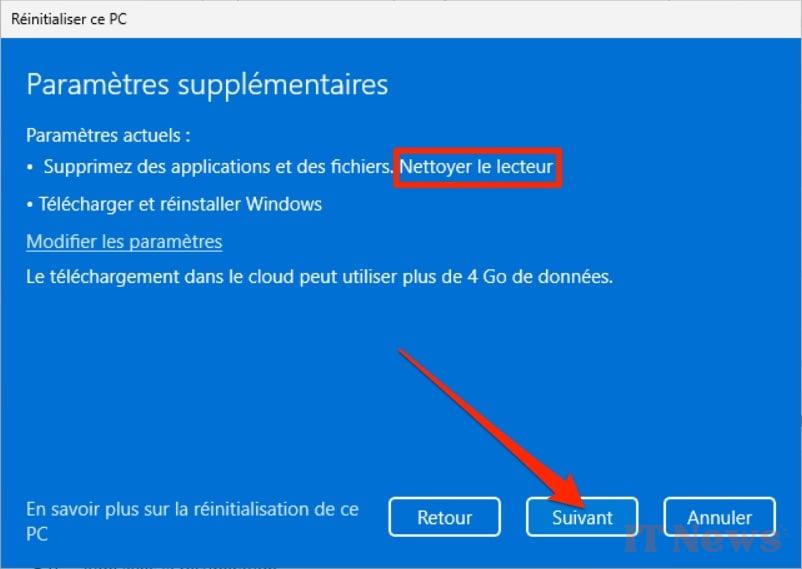
The next window will ask you to define Additional settings, compared to the current settings with which you are about to reset your PC. Then click on the Change Settings menu.

Now activate the Clean data option. Thanks to it, the Windows 11 reset procedure, in addition to reinstalling the operating system, will randomly rewrite data on your PC's disk, making data recovery more difficult, if not impossible. Then click on the Confirm button.

The summary of the reset procedure should then be displayed and now indicate that the drive cleaning is planned. Click the Next button to start the procedure and wait while Windows prepares the operation.
4. Reset the PC
Once everything is ready, the Windows Reset Wizard displays a summary of all the operations that will be performed during the reset. Click on the Reset button to start the procedure and be patient.
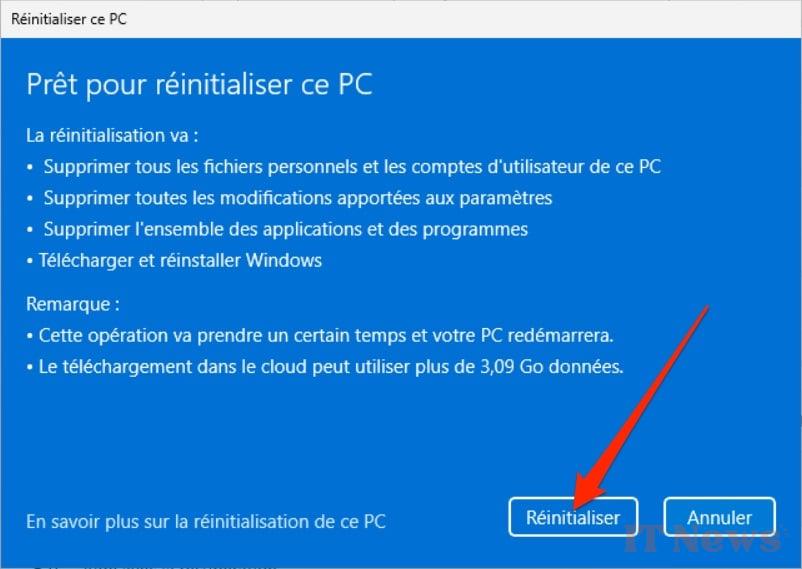
The operation may indeed take more or less time depending on the size of your machine's disk. Your PC will restart several times during the reset, and will display the first Windows configuration screen once the operation is complete.


0 Comments