

You just installed a new application, updated a driver, or applied a Windows update and things didn't go as planned? Most of the time, it's when you don't expect it that your PC crashes. Your PC starts up, but Windows 11 no longer responds and you don't know how to recover it?
To avoid this disaster scenario, it's best to plan ahead for a few tools to keep on hand so that you can be repaired in the event of a problem. Windows includes a tool for creating a recovery USB key on which you can start your PC to repair it.
Please note that if you have to reinstall Windows from this drive, all of your data stored on your PC (documents and applications) will be lost. We can't repeat it enough, but make sure to regularly back up your data, on external storage devices, or on the Cloud. You will only need a few minutes, as well as a USB key with at least 16 GB of storage, and that you will dedicate entirely to this purpose.
On its website, Microsoft recommends “recreating the recovery drive every year”. And for good reason, the recovery USB key that you are going to create will be based on the last major update of the operating system. Here is everything you need to know to create a recovery USB key to troubleshoot your PC.
1. Open the tool to Create a recovery drive
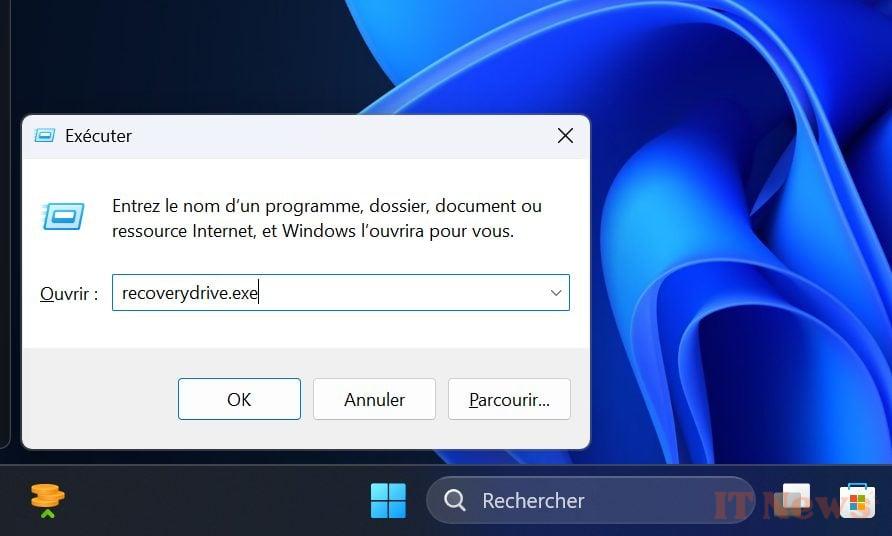
Microsoft has integrated a dedicated tool into its operating system to allow you to Create a recovery drive. To open it, use the keyboard shortcut Windows + R, then in the Run window that appears, type RecoveryDrive.exe and click OK to validate. Take the opportunity to connect the USB key to your PC.
2. Configure your recovery drive for Windows
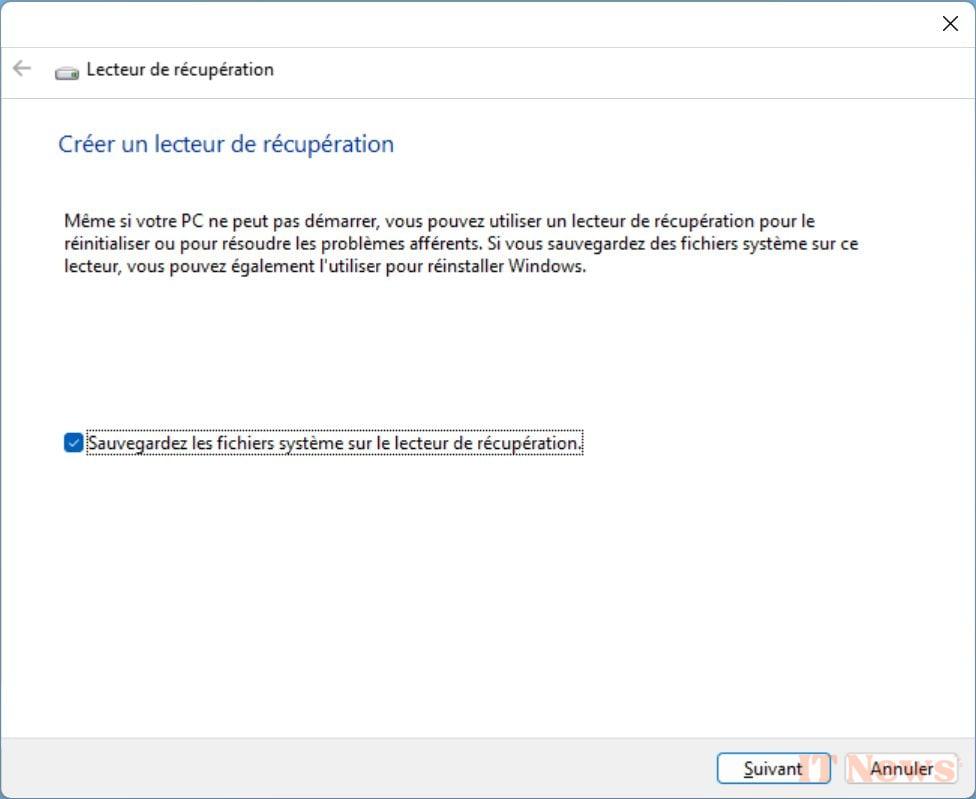
The first window that opens displays a quick description of what the tool offers. By default, the Backup system files to the recovery drive option is checked. Keep it like this and click Next and wait a few seconds.
After the utility has automatically detected the USB drive connected to your PC, click the Next button. The next window will alert you that all data on the USB drive will be deleted. Click Create, and go make yourself a coffee.
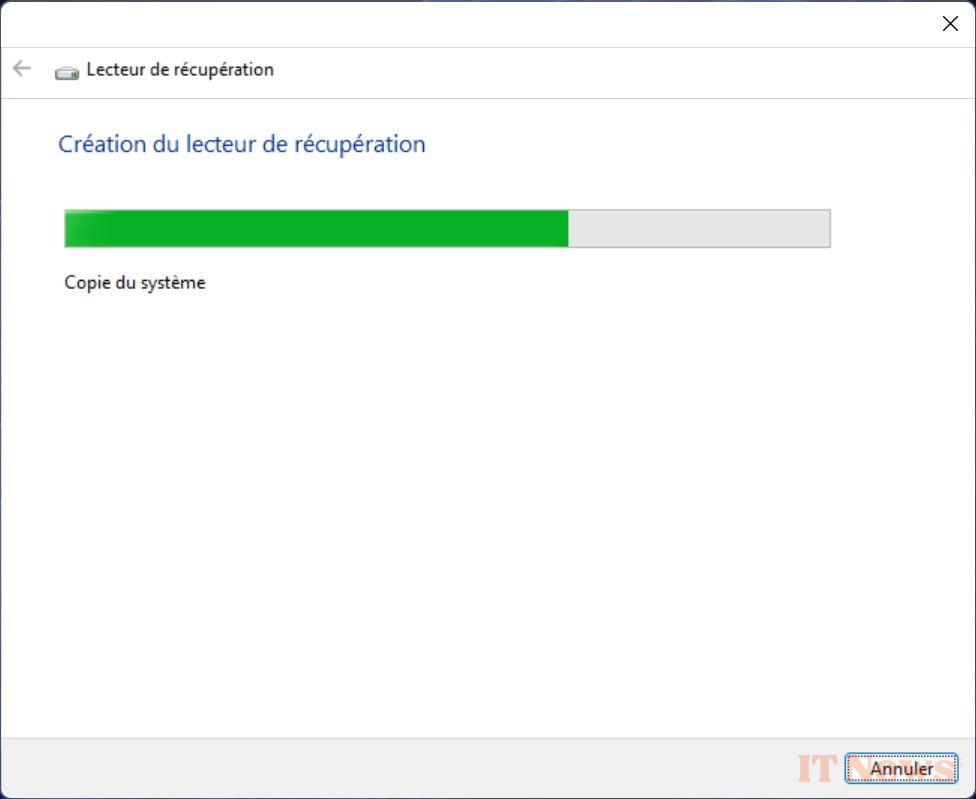
The utility will format your USB drive before copying the system and the tools needed to turn it into a recovery device. The process is a bit long, in our case, it took more than an hour and a half for the USB key to be ready.
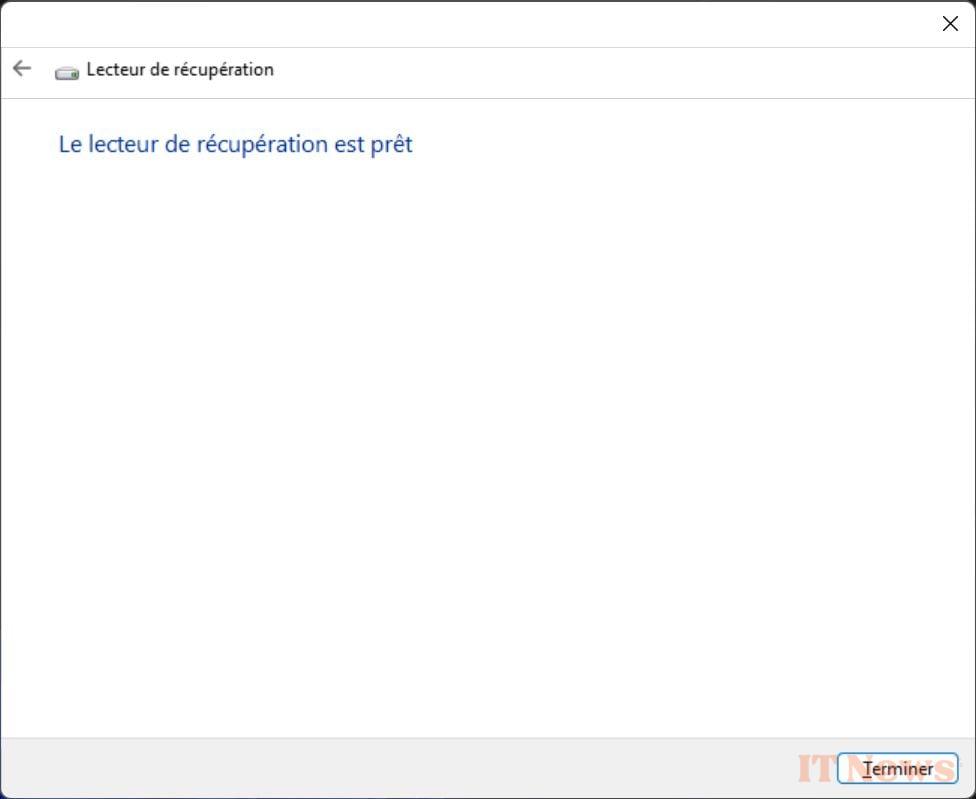
In any case, the recovery drive creation wizard will tell you that the recovery drive is ready.
3. Boot your crashed PC on the key
When the time comes, when your PC no longer boots into Windows, you can try to troubleshoot it using your recovery USB key. Obviously, you will need to configure your BIOS/EFI beforehand so that the machine boots on an external device as a priority (usually by pressing the F12 key on your keyboard).

After booting your PC from the USB drive, you should be prompted to choose your keyboard layout. Once you have made your choice, you will be presented with several options. You can then choose the one that best suits your situation: recover from a drive, run Troubleshoot, etc.


0 Comments