

Surfshark is an easy-to-use, fast, and reliable VPN. It's designed for anyone who wants to be anonymous online or protect their sensitive data at a low cost. We'll tell you how to install and configure Surfshark, as well as how to try it out for free for 30 days.
Launched in 2018, Surfshark has established itself over the years as one of the most effective VPNs on the market. It's a secure and fast solution that continues to attract thousands of new users each year. You can also try it out now and take advantage of a "free" trial period.
Indeed, like most paid VPNs, Surfshark offers a 30-day money-back guarantee. So, it's a great way to use it for free during this period. Here's how to install and configure it on any device.
Surfshark VPN: How to Create an Account
Creating an account is easy. In the first steps, you'll need to choose a subscription plan. The most affordable is the 2-year plan. Prices change regularly, but at the time of writing, Surfshark VPN is available from €2.19 per month + 3 months free.
This corresponds to a 27-month subscription for a total of €59.13. Unlike most VPNs, a single SurfShark account can be used on an unlimited number of devices.
- Go to the publisher's website at this address
- At the top right, click on Activate Surfshark VPN
- Choose your subscription plan, enter your email address and follow the registration steps to the end
Once the account is created, you can download Surfshark VPN and proceed with its installation. The application is available on most platforms: Google Play Store, App Store (Mac, iPhone, Apple TV), Microsoft Store (Windows), FireTV, etc. But you can still download Surfshark from the publisher's website.
- Go back to the Surfshark website
- At the very bottom, in the footer menu, click Download VPN or directly select your platform
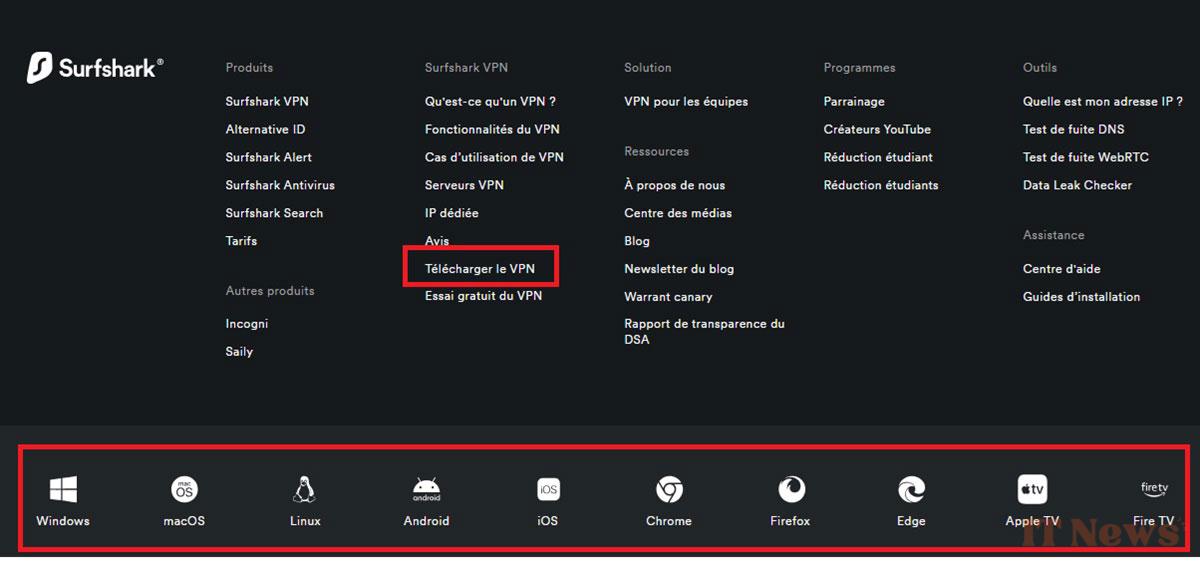
- Click the download link and install Surfshark by following the on-screen instructions
- Once the application is installed, log in with your email address and password
Note that Surfshark is also available on different web browsers. Search for and install the Surfshark extension on the Chrome Web Store, the Microsoft Edge store, or the Firefox store. These extensions only protect your web browsing and not all traffic.
How to install Surfshark on Linux?
First, you must have created an account and registered as indicated in the first step. Then, to install Surfshark on Linux distributions, the easiest way is to use the Snapcraft or Flathub platforms. The VPN is available on both app stores.
If you prefer to go manual, open Terminal (CTRL+ALT+T) and enter the following commands:
- curl -f https://downloads.surfshark.com/linux/debian-install.sh –output surfshark-install.sh
- cat surfshark-install.sh
- sh surfshark-install.sh
How to set up Surfshark VPN?
Surfshark offers a simple and easy-to-use interface. From the home screen, you can easily connect by pressing the Quick Connect button.
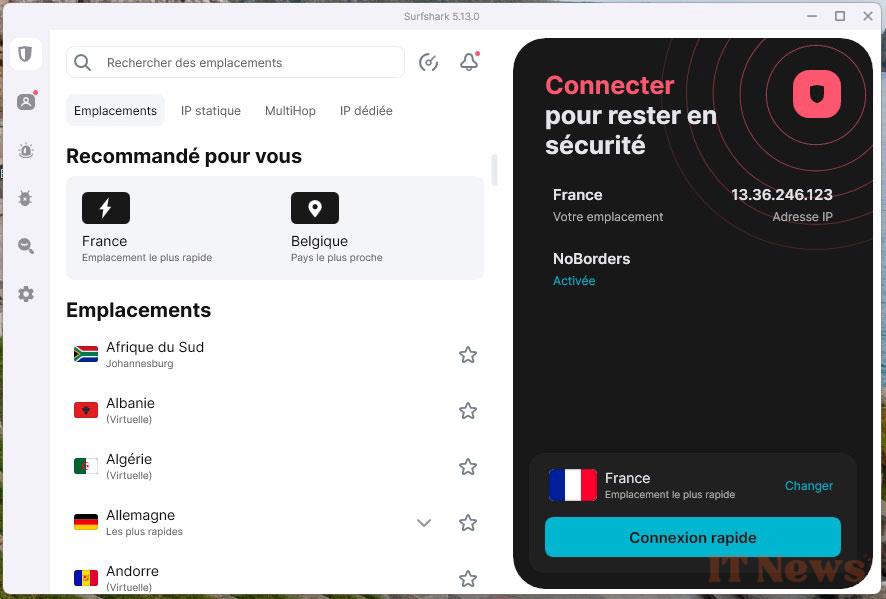
The VPN then chooses the nearest server. If you are in France, the quick connection will probably choose a French server. If you want to choose a specific location, the list of all countries is displayed in the left column. Scroll down and choose a country. Surfshark has more than 100 countries and more than 3,300 servers spread across these different locations.
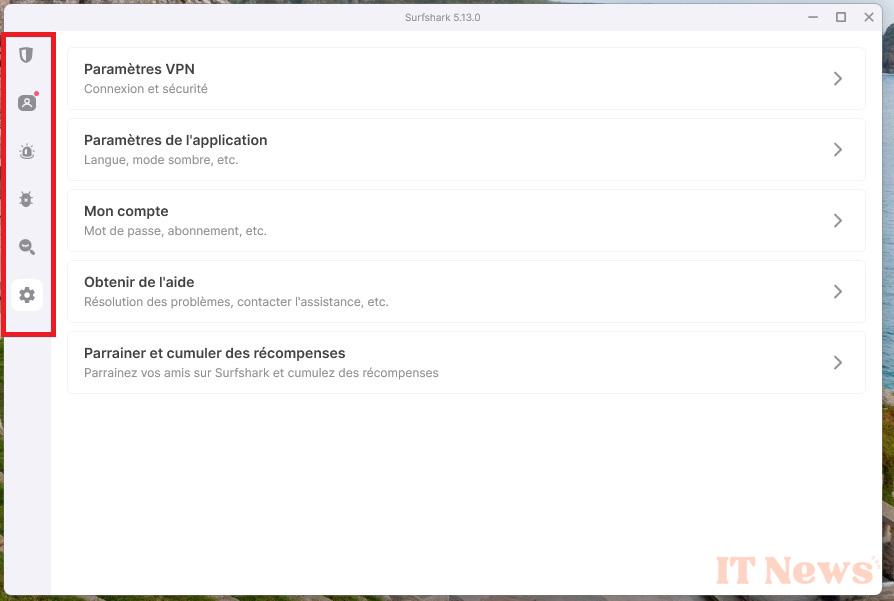
On the far left of the Surfshark screen, you have a side menu that allows you to access the various options as well as the VPN settings. You can enable/disable automatic launch at startup, the VPN protocol (OpenVPN, Wireguard) or even the Kill Switch.
How to take advantage of SurfShark's 30-day free trial?
Like most paid VPNs, SurfShark allows you to cancel your subscription and request a refund within 30 days of subscription, without justification. After this period, your subscription is non-refundable. However, you can cancel it to avoid automatic renewal at the end of the subscription period.
During this trial period, you benefit from all of Surfshark's features and without bandwidth limits. It is also a No Log VPN which ensures better privacy since it does not keep a log of your online activities.
This article is a sponsored post brought to you by Surfshark


0 Comments