

Need a photo editing program as powerful as Photoshop and with a similar interface, but without having to spend a single euro? This free software is what you're looking for.
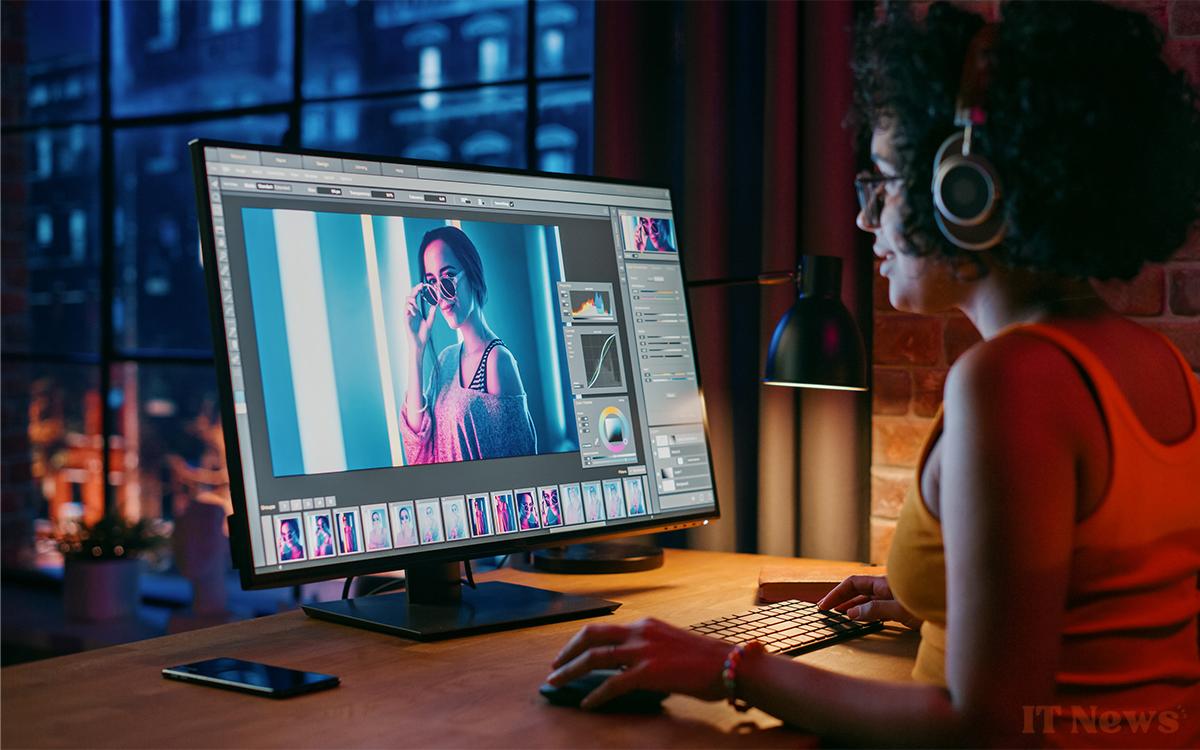
Whether you want to slightly increase the brightness of a photo that's too dark, remove a distracting element, change the color of the sky, or something else, launching photo editing software is the first step to getting there. And at this level, everyone has at least heard of Above Photoshop. Like Google with Internet search, the program has literally become a verb in everyday language meaning to modify a photo: it has been “photoshopped”.
Its reputation is well-deserved. Photoshop is an extremely powerful software, especially since it integrates a bunch of tools based on artificial intelligence. But not everyone can afford to spend several dozen euros per month to use it, especially if their needs are occasional.
Read also – Goodbye, Photoshop? This AI lets you edit your photos from a prompt
Fortunately, there is a free alternative that is just as powerful called GIMP. However, its interface is a little austere, unlike that of Adobe's software, which is more pleasant. Well, guess what, it's possible to turn GIMP into a near-perfect copy of Photoshop. We'll show you how.
Here's how to turn this free editing software into a copy of Photoshop
The good news is that this trick works on Windows, macOS, and even Linux. We'll see how to do it for each of the three operating systems, starting with Microsoft's. First of all, make sure you've installed the latest version of GIMP from its official website: www.gimp.org/downloads. Don't forget to choose your platform, of course. If you've been using GIMP for a while and want to make a backup before you start, check out the last part of this article.
Changing GIMP's interface to look like Photoshop on Windows
The process is simple, just follow these steps and you're done:
- Open and close GIMP. Make sure you do this, as it's essential for the future.
- Download the files needed to redesign the interface by clicking here. They were prepared by the Diolinux developer on GitHub, the originator of the PhotoGIMP project.
- Extract the archive to a location of your choice. It contains a single folder named 3.0.
- Copy the 3.0 folder to the clipboard (right-click on it then Copy).
- Press the Windows then R keys on your keyboard to open the Run window.
- In the latter, type %APPDATA%\GIMP and confirm with the Enter key or by clicking OK.
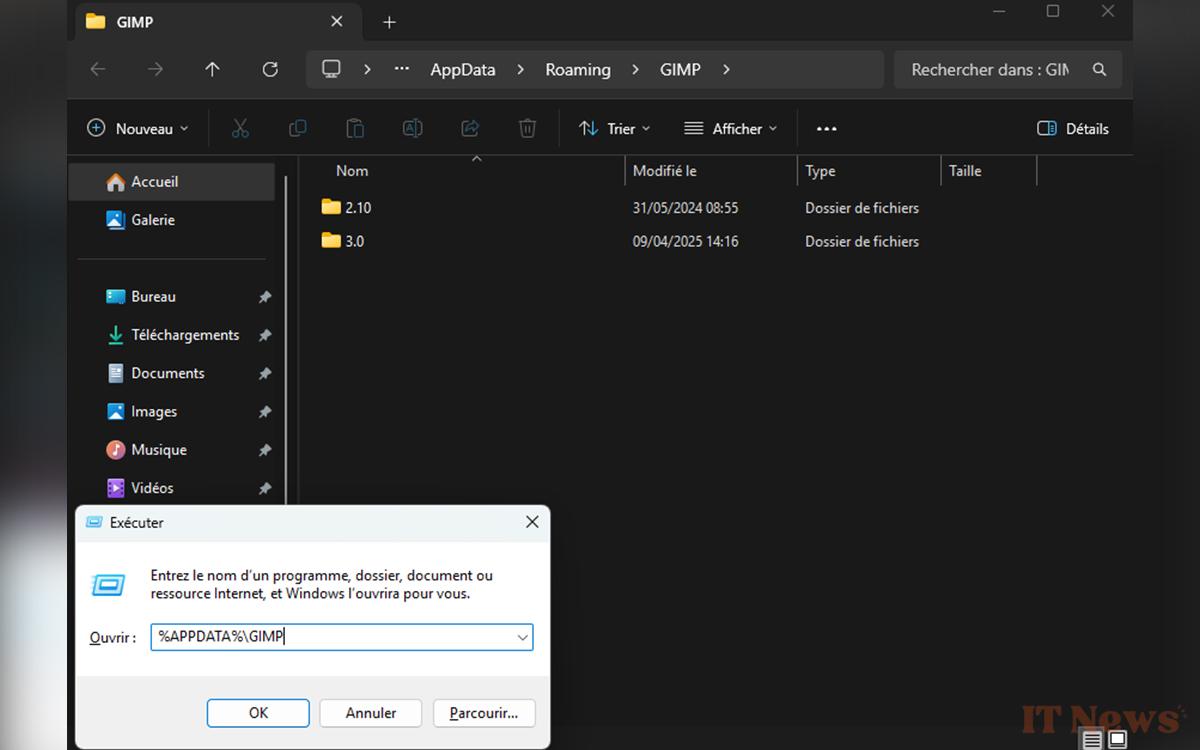
- Paste the 3.0 folder from the clipboard into the folder that just opened. When Windows asks, choose Replace files in the destination.
- Close the window and open GIMP to admire the result. There's even a new loading screen.
Change GIMP's interface to look like Photoshop on macOS
For Apple computers, the process is as follows:
- Open and close GIMP. Doing so is essential for the rest.
- Download the files needed to redesign the interface by clicking here. They come from GitHub, where the PhotoGIMP project is located.
- Extract the archive to your desired location.
- Copy the 3.0 folder to the clipboard.
- Open Finder, press Command + Shift + G to open Go to Folder.
- Type ~/Library/Application Support/GIMP and press Enter.
- If you've installed GIMP in the past, you may see a folder called 2.10 in the one that just opened. Delete it to avoid conflicts.
- Paste the 3.0 folder from the clipboard. When macOS asks you to, choose Replace or Merge.
- Close the folder and open GIMP to see its new interface.
Changing GIMP's interface to look like Photoshop on Linux
With Linux, we recommend installing GIMP through Flathub.org, which makes the process easier. Then:
- Open and close GIMP. This is important to ensure that everything else goes smoothly.
- Download the files needed to redesign the interface by clicking here. They come from GitHub, which hosts the PhotoGIMP project.
- Extract the archive to the folder of your choice. Note its name.
- From the file manager, navigate to the folder ~/[name of the folder where the archive was extracted]/PhotoGIMP-linux.
- You will now need to copy the 3 folders found there, then paste them to the following destinations, choosing Merge each time:
- ~/[name of the folder where the archive was extracted]/PhotoGIMP-linux/.config/GIMP/3.0 into ~/.config/GIMP/3.0.
- ~/[name of the folder where the archive was extracted]/PhotoGIMP-linux/.local/share/applications into ~/.local/share/applications/.
- ~/[name of the folder where the archive was extracted]/PhotoGIMP-linux/.local/share/icons/hicolor in ~/.local/share/icons/hicolor.
- Close your windows then open GIMP to see the result.
To give you an idea, here is the classic GIMP interface on Windows then that of PhotoGIMP below.


I've been using GIMP for a while, is it safe to do so?
Normally, yes. But since you can never be too careful, it's best to back up your original configuration files. Here are the folders to copy and keep on your machine:
- On Windows: Press Windows + R then type %APPDATA%\GIMP in the Run window. Copy the 3.0 folder.
- On macOS: Open Finder, press Command + Shift + G to open Go to Folder. Type ~/Library/Application Support/GIMP and copy the entire GIMP folder.
- On Linux: From the file manager, navigate to the ~/.config/GIMP folder. Copy the following 3 subfolders:
- 3.0.
- ~/.local/share/applications.
- ~/.local/share/icons/hicolor.
This way, if something goes wrong, you can simply delete the new folders and put the old ones back, without having to reinstall the entire software. This way, you won't lose all the settings you've customized in GIMP over time.


0 Comments