
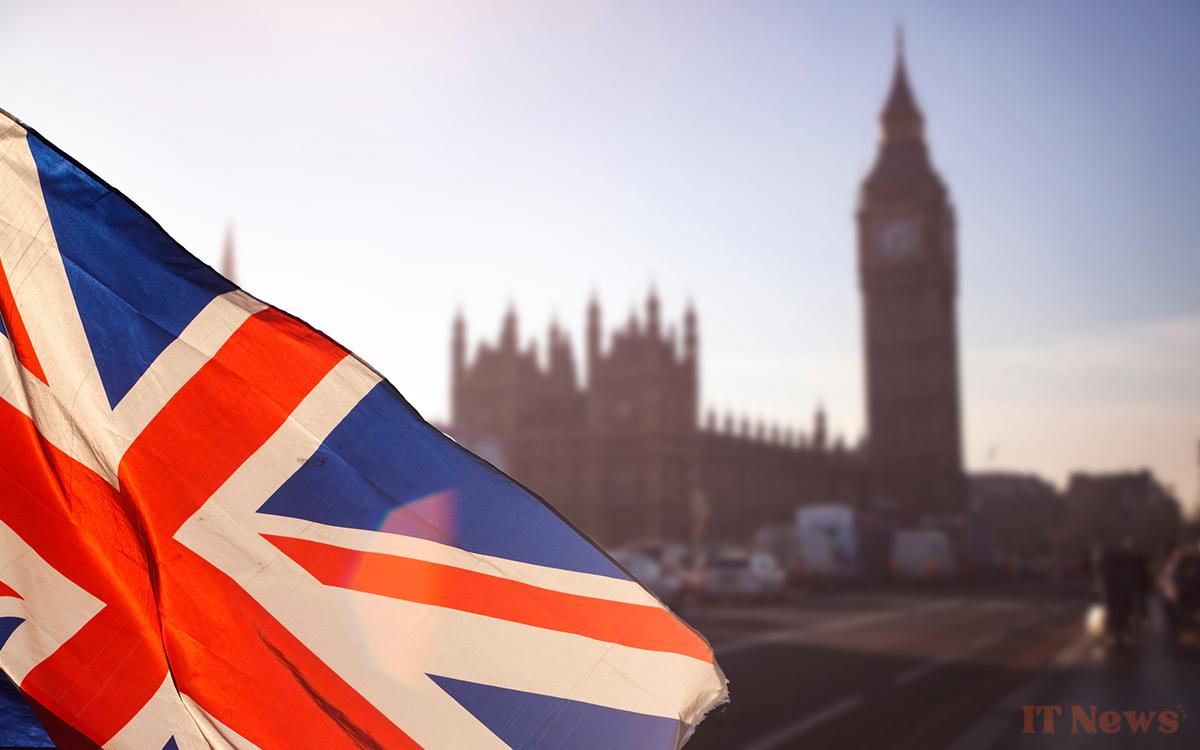
If you plan to travel to the UK from April 2025, you must have an ETA, or travel authorization. We explain how to apply.

The United Kingdom has not been part of the European Union since 2020. A decision that has not been without consequences for the rest of the member countries, and which continues to manifest itself in very concrete ways.
As a tourist, for example, you must have a valid passport and don't forget to exchange your euros for pounds sterling. Additionally, if you want to travel to the country from April 2, 2025, you need an ETA (Electronic Travel Authorization). Read also: Brexit: No roaming charges for French citizens in the UK “This document applies to travel to the UK for leisure, authorized professional activities, short-term studies, and land transit (border control when connecting with a return flight),” the government website tells us. It costs £10 (around €12), but from April 9, 2025, the price increases to £16, or about €19. So, it’s best to apply now. The ETA is valid for 2 years from the date of issue, or until the expiry of the biometric passport to which it is associated if it expires before the end of the 2 years. You also need an email address and an electronic payment method (a bank card is sufficient).
Here's how to obtain your travel authorization (ETA) to go to the United Kingdom
We carried out the process via the UK ETA app on Android, but it is also available on iOS under the same name. Make sure it comes from UK Visas and Immigration so as not to download a copy that could take advantage of the opportunity to conduct malicious activities.
Activate NFC on your smartphone before starting and remove any protective case from it; you will need it. Then follow the steps described below. Don't be intimidated by their number, the process takes about ten minutes at most:
- Open the app and skip the introductory screens by tapping the arrow at the bottom right of the screen and then the Continue button.
- On the new page that opens, tap the Start now button at the bottom.
- Another page will appear. Confirm with Agree and continue.
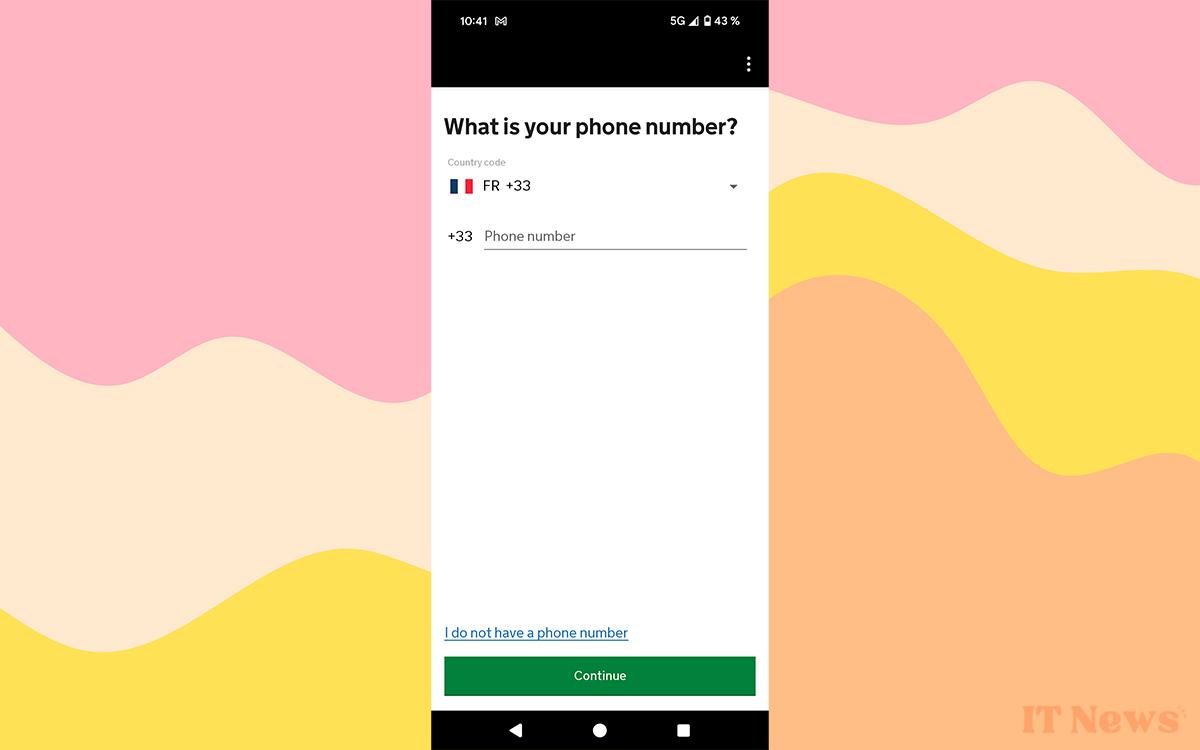
- Enter a valid email address. You will receive a security code there. Validate with the Continue button.
- Look at the email in question and enter the 6-digit code it contains before tapping Continue.
- Enter your phone number (start directly with 6 or 7, without the 0 before) then tap Continue.
- Continue with Yes to indicate that your passport is biometric.
- Tap Continue to take a snapshot of the passport page where your photo is located. Make sure it fits within the white frame. The photo will be automatically validated. If it doesn't, the app will make you try again.
- Tap Continue.
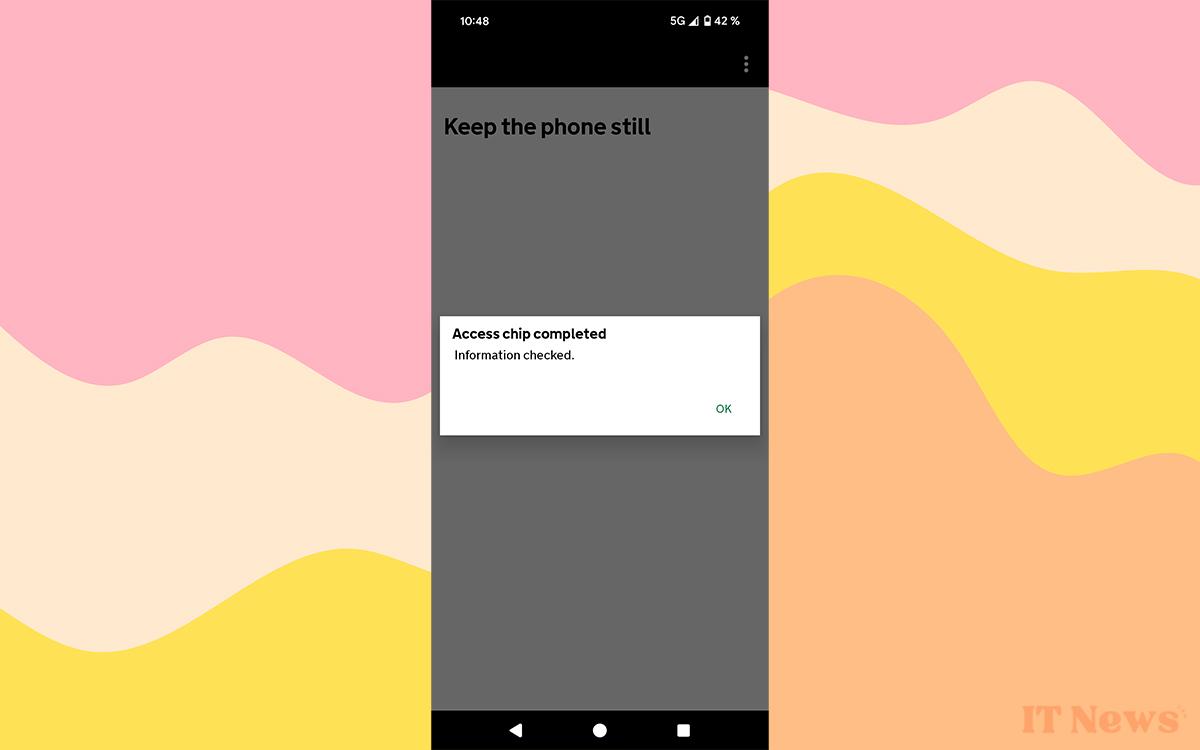
- Place the top of the back of the smartphone in the center of the passport cover. The chip will be read. When you see the message Access chip completed, tap OK.
- Tap Scan Face and place your face in the oval provided. The app may tell you to move closer. Here too, confirmation of the operation appears automatically. Continue with OK.
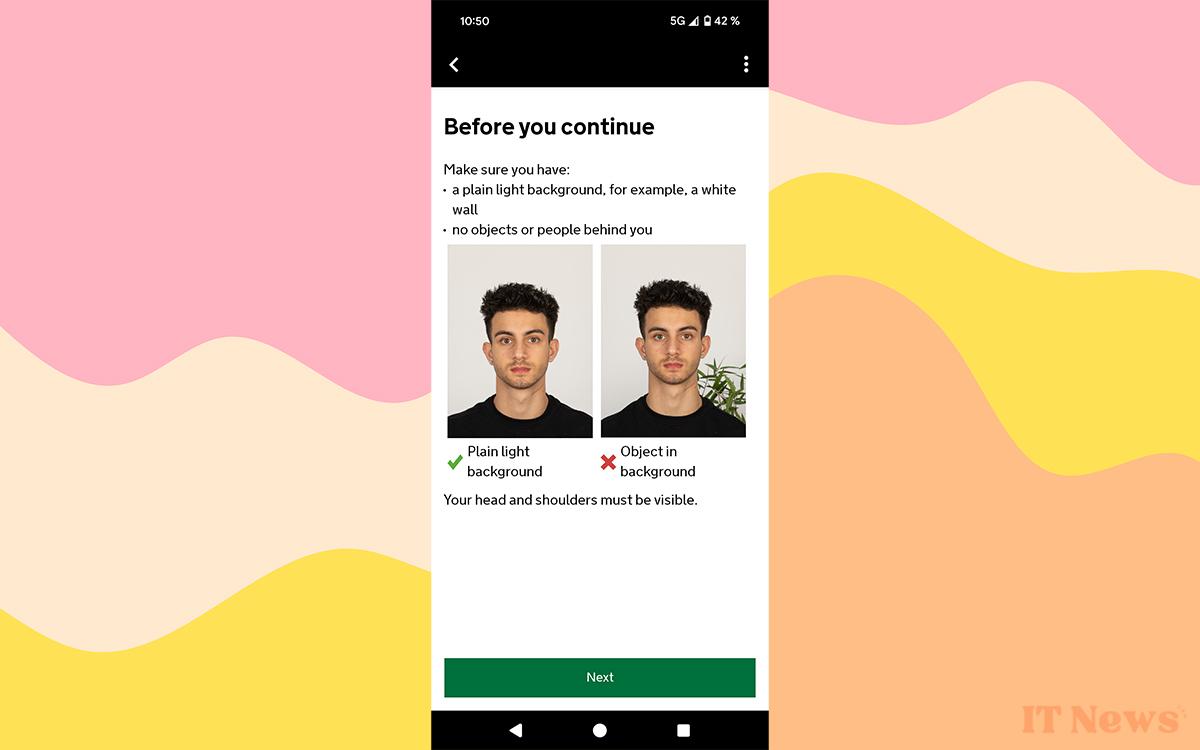
- It's time to take a photo. Tap Continue and read the instructions, moving from page to page with Next to find out the requirements (sufficient lighting, solid background, no shadows, etc.). Get started with Use camera.
- Place your face in the oval and take the photo with the central button at the bottom of the screen. Be careful, it is located in the same place as the back button on the Android desktop. Make sure you tap the right one.
- If the photo is correct, the app will let you know. Continue with Use this photo.
- Enter your address and confirm with Continue.
- Check that the nationality entered is correct and tap Continue.
Don't worry, it's almost over. There are just a few more formalities left and, of course, payment:
- You will have to answer a series of questions (in English). Confirm each time with Continue.
- A summary page opens. Check that everything is correct and confirm with Continue. Otherwise, tap Change where there is a mistake to correct it.
- Tap Continue to payment and choose France (or your country of residence) from the list before tapping Continue.
- Check the price and tap Continue to payment.
- Choose between Google Pay, Apple Pay, or Pay by card and follow the steps described. Validate with Confirm payment.
- That's it, you've made it! You'll receive an email to let you know. Finish with Done.
Your ETA confirmation arrives no later than 3 days after the request. In our case, we received it instantly. As stated in the email, there are no other documents to print or provide. The travel authorization is directly linked to your passport, no further information is required.
Note that you can also complete the process on the dedicated website. In this case, you will need a scan of your passport and a recent passport photo to submit during the process. For convenience, the best way is to go through the application. The United Kingdom strongly encourages us to do so, as it hides the link we gave you to its web platform behind several clicks.


0 Comments